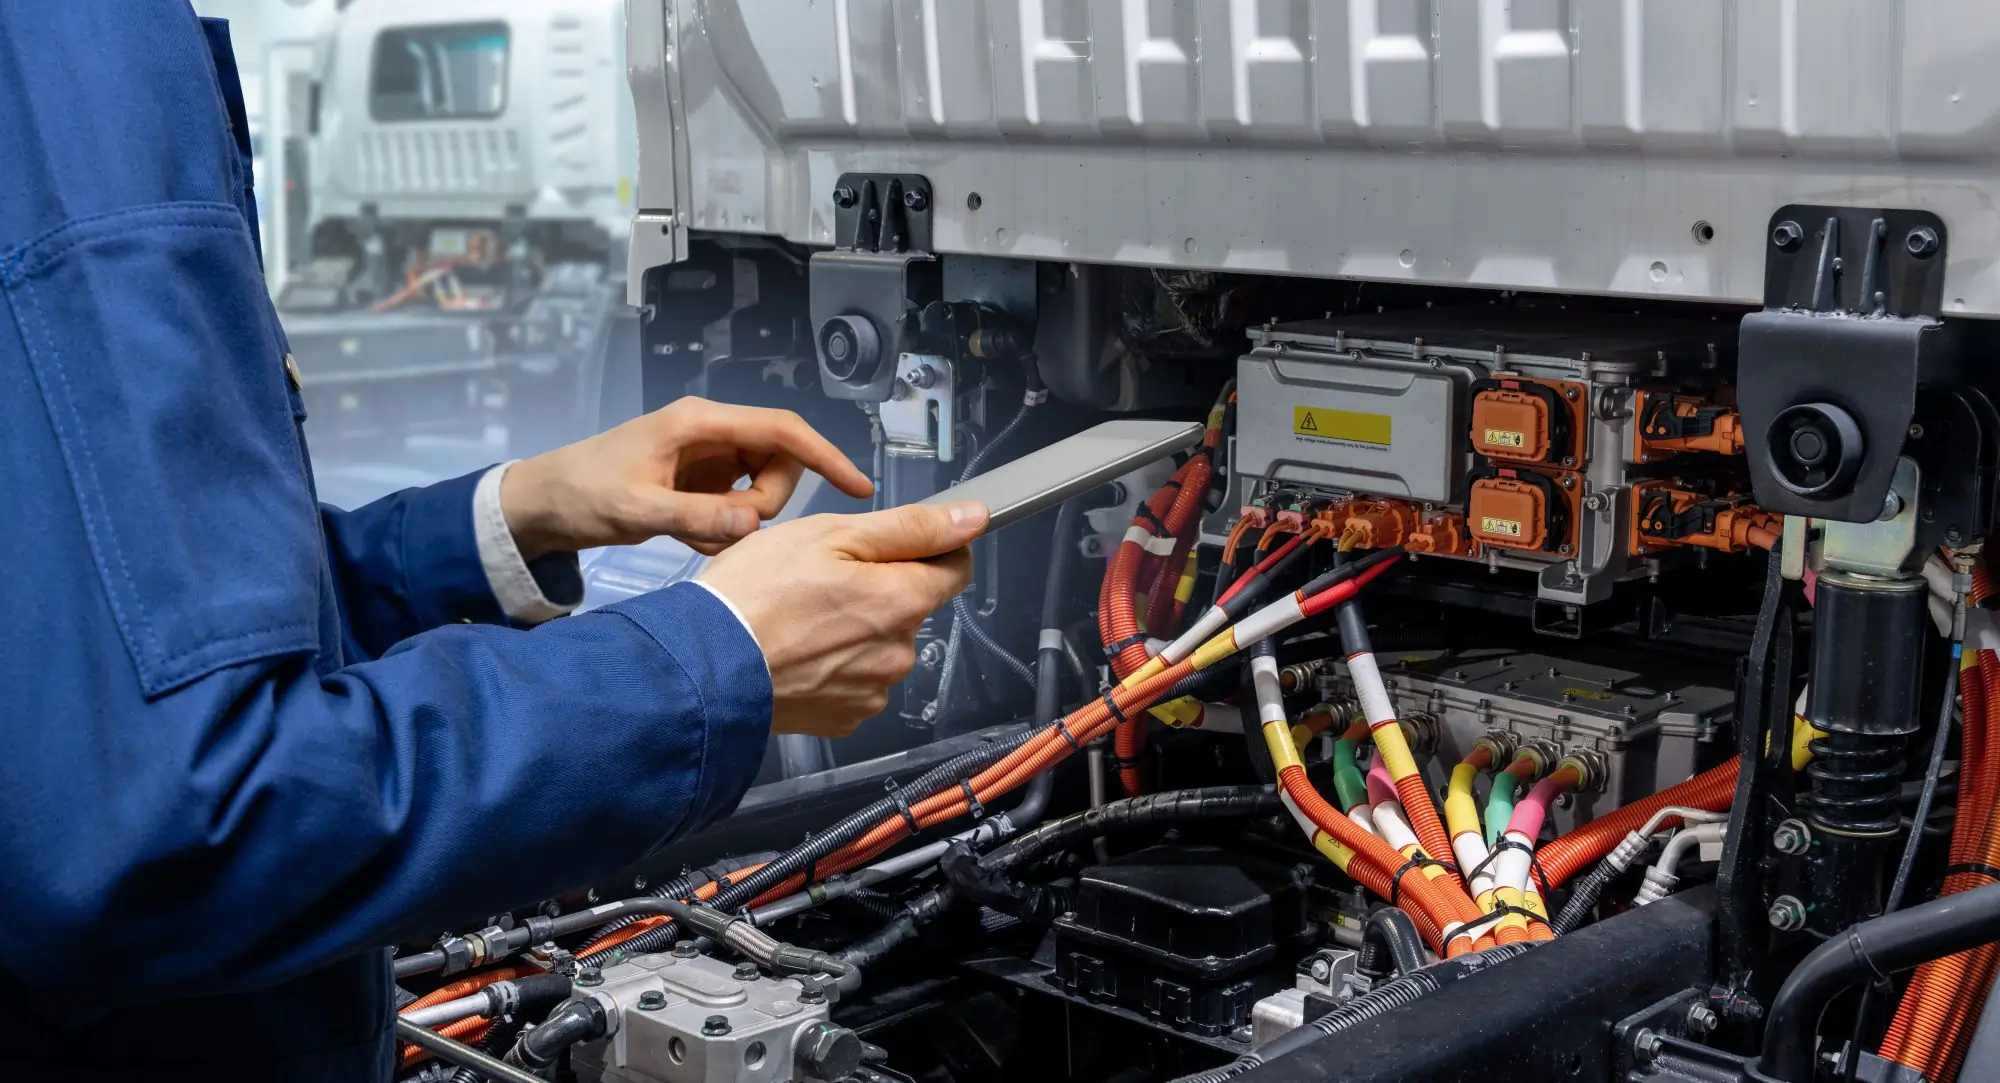
At Rusted Nuts Mechanical Services, electrical issues are one of the top reasons heavy-duty trucks lose valuable time on the road. From flickering lights to complete power loss, these problems can develop quickly and bring operations to a halt. Knowing how to identify and troubleshoot common faults keeps your fleet reliable and prevents breakdowns that cut into productivity.
Safety First and Initial Symptoms
Electrical diagnosis begins with safety. Always disconnect the negative battery terminal before handling major circuits to prevent short circuits or accidental sparks. Once safe, note the symptoms. Slow cranking, dim headlights, intermittent dash lights, or complete no-start conditions often point to battery or alternator issues. Warning lamps or random shutdowns can indicate sensor or ECM problems. Recognizing early warning signs helps narrow down the possible causes before detailed testing begins.
A Step-by-Step Diagnosis Workflow
A structured approach saves time and prevents unnecessary part replacements. Start with a visual inspection of wiring, connectors, and grounds. Look for corrosion, damaged insulation, or loose terminals.
Next, test battery voltage with a voltmeter. A fully charged battery should read about 12.6 volts at rest. Perform a load test to confirm it holds voltage under demand. Then check alternator output while running, typically between 13.5 and 14.5 volts.
If voltage levels drop, perform voltage drop tests on both positive and ground circuits to find resistance caused by loose connections or corrosion. Finally, use onboard diagnostics to scan for active or stored fault codes that may reveal hidden electrical or sensor issues.
Battery and Terminals

The battery is the heart of the electrical system. Over time, terminals can corrode and weaken the connection between the battery and the starter or alternator. Clean each battery terminal and cable end with a wire brush, then coat them with dielectric grease to prevent oxidation.
Test the battery’s resting voltage and conductance using a load tester. If voltage drops rapidly under load or the battery fails to recover after charging, replacement is likely needed. Check for parasitic draws with an ammeter to identify systems that continue to pull current after shutdown, such as lights or ECM memory circuits.
Alternator and Charging System
A faulty alternator can mimic many battery-related problems. Measure charging voltage at idle and under load. If output is low, inspect the drive belt for tension and glazing. An overcharging alternator, producing more than 15 volts, can damage electronic components and batteries.
Inspect the alternator wiring for melted insulation, loose plugs, or corroded connectors. Ripple voltage tests can also reveal failing diodes inside the alternator, a common cause of dimming lights or irregular voltage readings.
Starter and Cranking Circuit
If the battery and alternator test fine, move to the starter circuit. Check voltage drop on both the supply and ground sides while cranking. A drop greater than half a volt often points to high resistance or a failing starter motor.
Inspect the starter relay, solenoid connections, and main cables for heat damage or looseness. Consistent slow cranking with good voltage usually means worn brushes or internal motor faults.
Wiring Harness, Grounds, and Connectors
Electrical reliability depends on clean, solid connections. Inspect the wiring harness for chafed sections, pinched cables, or loose plugs. Pay attention to areas near brackets or moving components where vibration can cause damage.
Corrosion in connectors is one of the most common causes of intermittent faults. Clean each plug, apply dielectric grease, and re-secure firmly. Inspect frame and engine ground straps for corrosion or broken strands, as weak grounds can cause erratic sensor readings and starting issues.
Sensors, ECM, and Network Faults
Modern trucks rely heavily on electronic control modules and sensors. Faults in the ECM or attached sensors can trigger check engine lights, false warnings, or derated performance. Use a diagnostic scanner to review fault codes, freeze frame data, and live readings from sensors like coolant temperature, crank position, and boost pressure.
If multiple systems fail simultaneously, check for CAN bus communication faults, damaged fuses, or corroded relay sockets. Always confirm sensor power, ground, and signal integrity before replacing parts.
When to Call a Professional
While some electrical problems can be handled with basic tools, deeper diagnostics often require specialized equipment and training. If you experience repeated battery drain, alternator failure, or unexplained sensor faults, it is time to call a professional.
Rusted Nuts Mechanical Services offers complete electrical diagnostics and repairs for heavy-duty trucks, from alternator replacement to ECM testing. Our technicians use factory-level diagnostic tools to locate faults quickly and restore reliability. Learn more about our Diesel Mechanic, Mobile Truck Repair, and Fleet Services to keep your electrical systems running strong.


